Showing posts with label stockings. Show all posts

Dec 28, 2011

Our Christmas Morning... Adelaide's first!

Christmas is never more exciting than when you're a kid. The anticipation of waking up Christmas morning to a slew of new toys and gifts, not knowing what has been hiding under the tree all month. The flurry of wrapping paper tossed aside, the growing heap of boxes and bows and ribbon. You see stuffed stockings, and new books, and maybe that one thing you really hoped to get.

Then you grow up and Christmas is still fun, but some of the magic is gone. You decorate, you buy gifts for your loved ones, you anticipate what others might give to you. But you're busy working most of the month, you spend your free time cleaning the house and doing all the grown-up stuff that gets int he way of just relaxing and realizing that Christmas is so close.

Then you have a kid, and the magic is back! Santa came to this house for the first time this year. Last Christmas, Adelaide was 3 days old, and that was enough magic for us to last through the holiday season (and the rest of our lives, really!). But this year, Santa stopped by to surprise an unknowing 1-year old with her very first bit of Christmas wonder. And I must admit, it was so exciting to anticipate her reactions to the whole thing!

Santa came!

_DSC0453
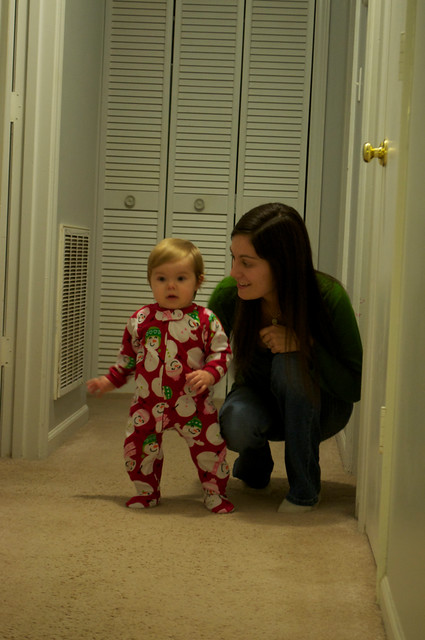
Walking down the hall in the morning, seeing the rearranged furniture and fun new stuff.

_DSC0465
What's this? A tunnel (that she has yet to crawl through).
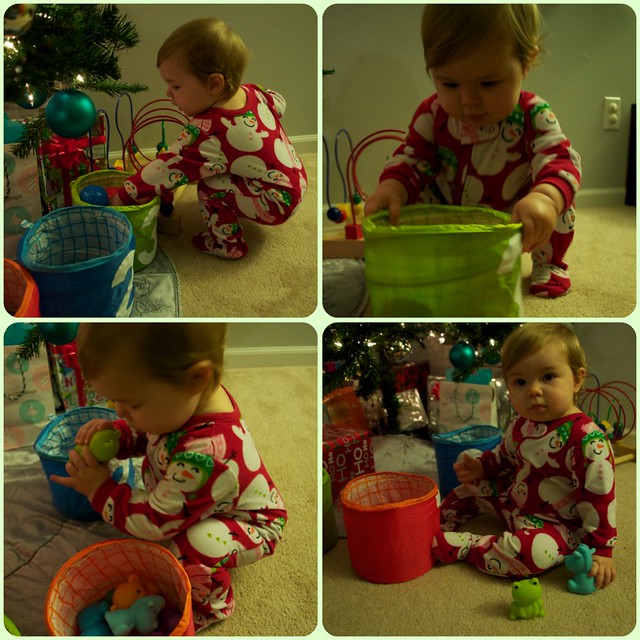
Christmas collage 1
She went straight for these toys and started exploring. Emptying buckets, then filling them back up!

_DSC0547
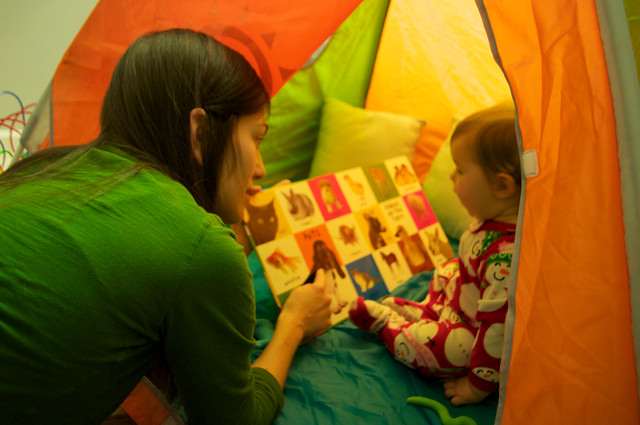
Tents are so much fun! Great fun for reading, hiding, and going in and out of!
_DSC0552

_DSC0559
This looks makes me melt!

Christmas collage 2
Thank you to all our family who showered wonderful gifts on our little girl!
_DSC0608
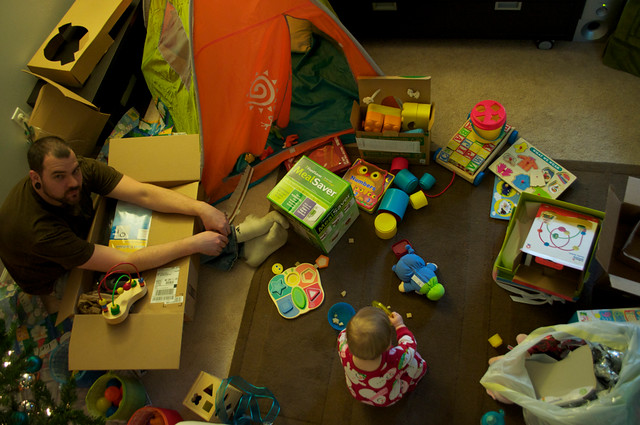
The aftermath... We cleaned up wrapping paper as we went, so it didn't get toooo bad.

_DSC0612
Merry Christmas from our family to your's!

Dec 4, 2010

DIY Tutorial: Christmas Stockings!

This year, considering how we're getting an extra-special brand-new addition to our family, I wanted to do something extra-special for our Christmas stockings. (Well, that and because I like to make stuff.)

So I used some materials I had on hand, and whipped up a snazzy tutorial for you all to make this:
{It's SO easy, and it looks SO good!}

Materials:
  • Fleece
  • Water-soluble marking pen
  • Scissors
  • Wool felt (acrylic is fine too)
  • Sewing pins
Optional: Tissue paper to create a stocking pattern.

Step 1: Lay out your fleece, and double it up so you can cut through two layers at once (makes it quicker). Use your water-soluble pen to draw a stocking shape. (Tip: If you're hesitant to mark directly onto the fleece, draw a pattern onto regular tissue paper, and pin that to your fleece.) Cut out your stocking.

Step 2: Grab your felt, lay it under the stocking, and trace the top of the stocking onto the felt. Before you trace, make sure you like how big the felt piece will be. This will replace that fuzzy white stuff on the traditional stocking. :) Cut out your shape, then trace it onto the remaining felt to make a second piece exactly the same size.

Step 3: Pin the felt pieces to the top of the fleece stockings. Notice I flipped one of my stocking pieces over, so that in the end, the felt will be on the correct outside part of the stocking, front and back. The felt may not fit perfectly, but that doesn't matter as long as it covers the fleece.

Step 4: Sew the top and bottom edge of the felt onto the fleece. Don't worry about the sides.


Step 5: Make snowflakes following this tutorial from The Purl Bee. I used the same felt as for the top of the stocking so the colors would match. I also didn't make mine double-sided since I'd be sewing it directly to to the stocking. Here you see the three snowflakes I made for our three stockings.

Step 6: Find the perfect placement of the snowflake on one of the stocking pieces (whichever you want to be the front) and pin in place.

Step 7: Sew that bad boy on! I just sewed along the 6 branches of the snowflake and didn't worry about all the little bits sticking off. It seemed secure enough with just that.

Step 8: Pin both stocking pieces right-sides together. Sew along all sides except the top, because you want Santa to be able to put in his treats, right? :)

Step 9:
Before you flip it right-side out, trim any excess felt off. Otherwise, it'll make your stocking kinda bulky.

Step 10: Cut a long-ish rectangle from your felt. This is for the loop to hang the stocking.

Step 11: Place your rectangle onto the stocking like this, and sew it on, making sure to go over it a couple of times for reinforcement. Now you're done!

Step 12: Iron carefully, and then hang by your tree, fireplace, what-have-you! Here are all three of our stockings, finished and hanging!

Kevin gets the orange one, I get the teal, and our little lady will have the maroon. We each have our own, and they're each slightly different. The snowflakes are all individual and we each get our own color.

Please let me know if you make (or plan to) one of these! It's really not that hard... the most time consuming part is the snowflake, but only if you're obsessive like me and actually use a ruler to make sure each branch is exactly the same (like a true snowflake).

What do you think?